Photographing a bouquet before you give it as a gift gives you a record of the arrangement while it looks freshest. You can send the photo to the recipient ahead of time, keep it for your own albums, or share it with the florist who made it. Preparing the space first keeps the photo session short.
Set up the space before you unwrap anything
Cut flowers start to droop once they are out of water and in a warm room, so the order of work matters. Prepare the background, check the light, and frame a test shot with a stand-in object first. A water jar roughly the size of the bouquet works well. Then bring the flowers in.
- Clear the surface and wipe it down.
- Place your background and light source.
- Take one test shot with the jar and adjust the framing.
- Swap the jar for the bouquet and shoot quickly.
- Return the flowers to water or back into their wrapping.
Keep the bouquet away from heating vents and hot, sunny spots while you work. Dry the stems with a towel before setting them on a table, so water does not leave dark marks on a wooden surface or soak the background. Handle the bouquet by the wrapped stems, since petals bruise easily and fingerprints on a leaf show up in close photos.
Choose a plain background and let the flowers carry the color
A busy backdrop competes with the bouquet. A plain wall, a sheet of poster board, a linen tablecloth hung over a chair, or a bare wooden table all give the eye a quiet place to rest. Remove cords, mail, and kitchen clutter from the frame, because a small object behind the flowers tends to draw attention in the final image.
Think about contrast. Pale blooms such as white ranunculus or cream roses stand out against a mid-tone surface like gray, sage, or warm tan. Deep reds and purples read clearly against a light wall. If you use fabric, steam or tape out wrinkles, and place the bouquet a couple of feet in front of it so any remaining folds blur softly.
Browsing a catalog such as Flower Delivery Atlanta is one way to compare how different bouquets are photographed. It can give you ideas for spacing, how much empty room to leave around the flowers, and which color pairings look calm on screen.
Use window light and keep the shadows soft
Natural light from a window flatters flowers more than a ceiling lamp does. Set the bouquet on a table beside the window so the light hits it from the side. Side light shows the folds of petals and the texture of leaves. Light from directly behind the camera tends to flatten everything.
Direct sun creates sharp shadows and can wash out white petals until they lose their detail. A sheer curtain, or a window on an overcast day, spreads the light. Turn off overhead bulbs if their color differs from the daylight, so the flowers are lit by one consistent light source.
Shadows on the side away from the window can look heavy. Stand a sheet of white card or a foam board on that side, angled toward the flowers, and it bounces light back into the dark areas. Take a few test shots at different distances from the window, since the right spot depends on the room and the time of day.
Perspective and framing when photographing a bouquet
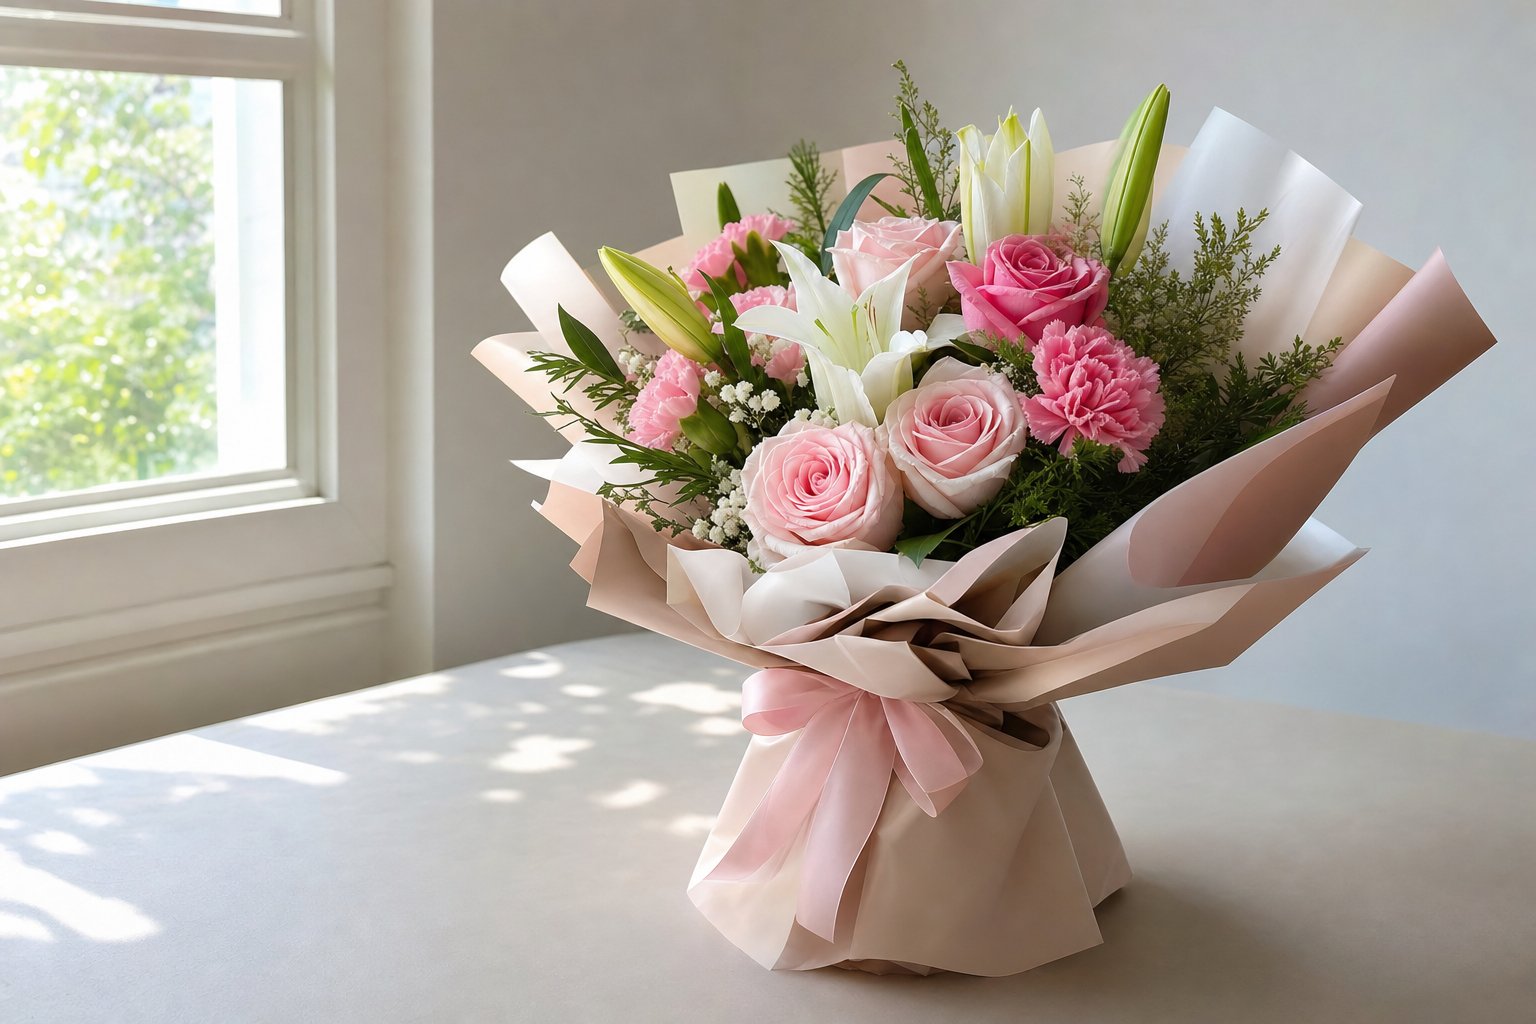
The angle changes how the arrangement reads. A camera at the height of the blooms shows the bouquet as a rounded shape and works well for a portrait view. A camera slightly above and tilted down shows how the flowers are layered. An overhead shot suits a wrapped bouquet lying flat on a table, with the ribbon and paper visible.
On a phone, stepping back and using the 2x zoom usually gives more natural proportions than holding the camera close, which can stretch the nearest flowers. Tap the screen on the brightest bloom to set focus, then drag the exposure slider down a little so light petals keep their detail.
Turn the bouquet a quarter turn between shots to find the side with the fullest arrangement. Pull off stray leaves, tuck in loose ribbon ends, and check that no stems are cut off at the edge of the frame. Take one vertical and one horizontal version, since a messaging app, a social post, and a printed card each crop differently.
Finish with a close-up of a single bloom or the handwritten gift card. These detail shots are quick to take and give you a second image to choose from. Before the bouquet leaves your hands, scroll through the photos, pick one, and save it in a folder where you can find it later.