A friend of mine once spent $180 on peonies for a product shoot, then watched them look flat and muddy in every frame. The flowers were gorgeous in person. The problem was everything around them: a busy wall, a glossy vase throwing back window glare, and a stack of props that fought for attention. Flowers rarely fail on camera because of the flowers. They fail because of the styling.
Whether you are shooting for a small business, a wedding portfolio, Instagram or just a nice holiday card, the same three decisions matter most: what sits behind the flowers, what holds them, and what (if anything) joins them in the frame. Here is how I approach each one.
Start with the backdrop: it decides the mood
The backdrop does more work than the bouquet. A good one separates the flowers from their surroundings and sets the tone before anyone notices a single petal.
Match contrast to the flower, not to your taste
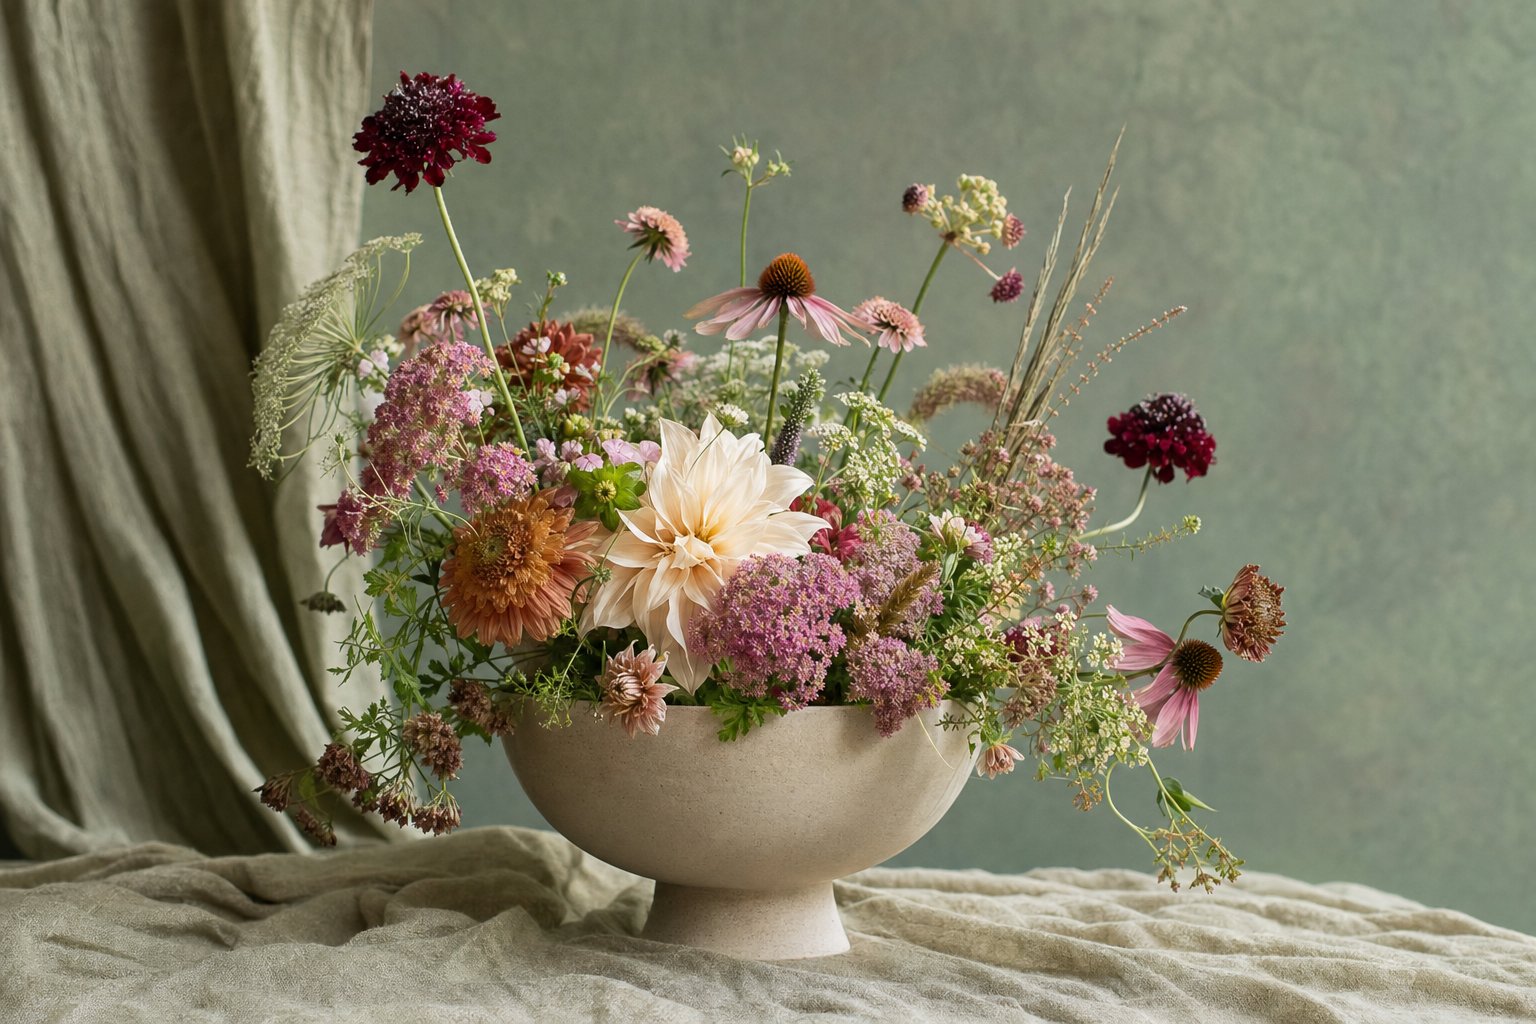
Pale blooms like white ranunculus, cream roses or baby’s breath disappear against a white wall. Put them against a mid-tone or deep background, such as sage green, dusty blue, charcoal or warm terracotta. Dark flowers like burgundy dahlias or black-red scabiosa need the opposite: a light, softly lit surface so their shape does not collapse into shadow.
Cheap backdrops that actually work
- Painted foam board or poster board. A 32×40 inch sheet costs a few dollars at any craft store, and matte finishes avoid reflections.
- Linen or muslin fabric. Steam it, then let it fall in loose folds. Slight wrinkles add texture, while hard creases look sloppy.
- Plaster or limewash-style boards. Photographers love these because they add depth without pattern.
- A plain wall with a window nearby. Often the best option, as long as you clear the clutter and check the corners of the frame.
Keep the backdrop at least two to three feet behind the arrangement when you can. That distance lets the background blur gently and removes harsh shadows from the surface behind the stems.
Choosing a vase that supports the flowers instead of competing
The vase is the quiet partner in the image. If people comment on it first, it is probably too loud.
Matte ceramic, unglazed clay and frosted glass are the easiest to photograph because they soak up light rather than bounce it. Clear glass works, but it shows stems and water, so trim leaves below the waterline and change the water just before shooting. Shiny metallic vases reflect the room, your camera and sometimes you, so I save them for experienced setups.
A few practical rules I keep coming back to:
- Scale it. The arrangement should be roughly one and a half to two times the height of the vase.
- Narrow necks give structure. Wide-mouthed vases need chicken wire or a floral frog to hold stems where you place them.
- Vary heights. Three small bud vases in different sizes often look more refined than one overstuffed bouquet.
- Think in odd numbers. Groups of three or five feel natural; pairs can look stiff.
Not sure what is sitting in your cupboard? Try a drinking glass, a stoneware pitcher, a glass milk bottle or even a thrifted teapot. Imperfect containers often photograph with more personality than store-bought “photo-ready” vases.
Simple props: less than you think
Props should answer a question the viewer did not know they had: where is this, what season is it, who lives here? If a prop does not do that, remove it.
Props that rarely go wrong
- A folded linen napkin or ribbon in a color pulled from the bouquet
- A small ceramic dish or tray to anchor the scene
- Loose petals or a few fallen stems placed deliberately, not scattered everywhere
- A book, a candle or a coffee cup for lifestyle shots
- Handwritten cards or tags for gift and event imagery
A rule I use: build the scene, then take one thing away. It nearly always improves the photo.
Mind the light and the clock
Soft window light is your friend. Place the setup beside a north- or east-facing window if you can, and diffuse harsh sun with a white sheer curtain. A white foam board opposite the window bounces light back and lifts shadows. Cut flowers also wilt faster than people expect, especially tulips, hydrangeas and sweet peas. Condition them in cool water for a few hours first, and keep them out of direct sun until you are ready to shoot.
A quick pre-shoot checklist
- Choose a backdrop that contrasts with your main flower color.
- Pick a matte, simply shaped vase that suits the scale of your stems.
- Limit props to two or three, and keep them within one color family.
- Trim, hydrate and fluff the blooms, removing any bruised petals.
- Take test shots from a few angles: straight on, slightly above and low.
Where to go from here
Good flower photography is mostly patience and subtraction. Pick a simple backdrop, a vase that stays out of the way and a prop or two that tells a small story. Then shoot the same arrangement in different light and from different angles. You will learn more from one afternoon of experimenting than from any rulebook. If this sparks your curiosity, look into color theory for floral design and basic natural-light photography, because both will sharpen your eye quickly.